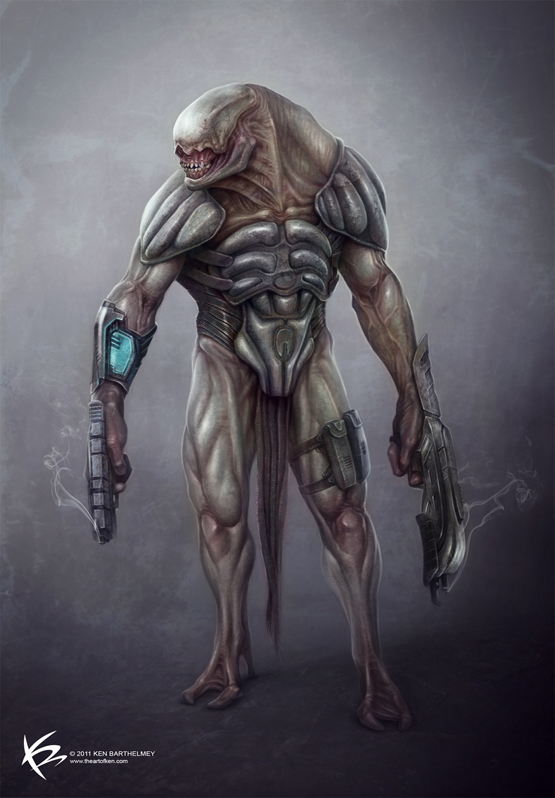
Final image
Hello, this is my first tutorial. I’m going to talk about my workflow used to create a character design for film- or game-production. Let’s look at this more closely.
Introduction
This way you’re going to see how the order is developed, from the first sketches to the final result.
Also, notice this is not a Photoshop tutorial where I explain everything in depth. My goal here is to show one way I work. Let’s get started!
Summary
Step 1 : Brainestorming and Sketching
Step 2 : Black and White
Step 3 : Colouring
Step 4 : Texturing
Step 5 : Color Correction
Step 1: Brainestorming and Sketching
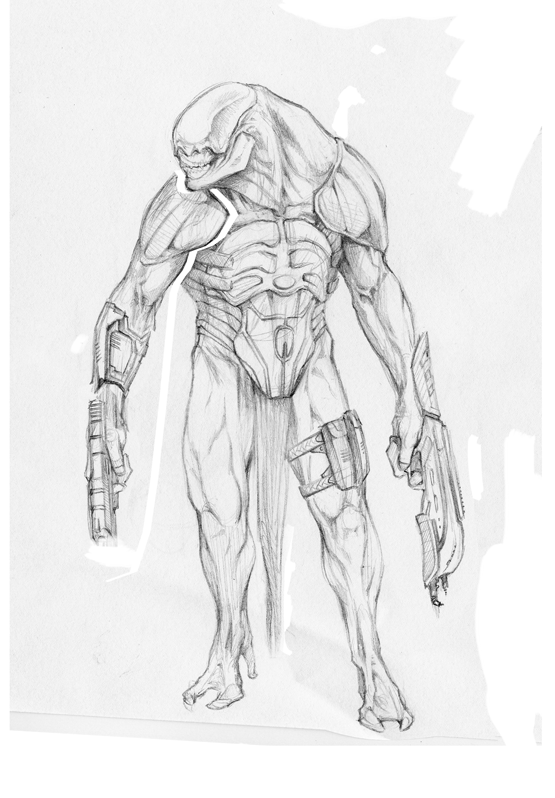
Before you start to paint, you must have an idea. It's a gread trick to scribble very fast sketches with a pencil or an copic, to find ideas about his anatomie and carriage. This sketches must not have details!
Lately you can begin with more detailed sketches. What really matters now is the character´s attitude, its pose, facial expression, the clothing… that each character transmits what it must transmit. So try to realize all these points. I always draw pencil sketches and scan it into my computer to process.
Step 2 : Black and White
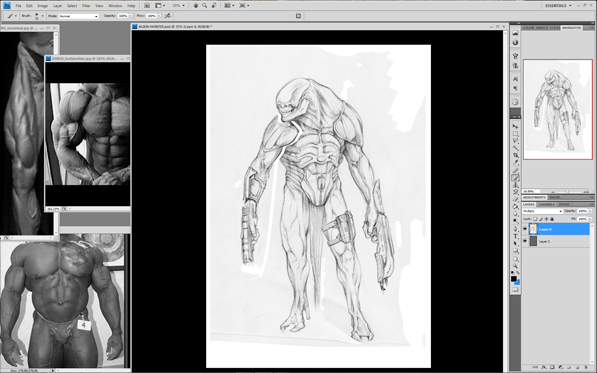
My document was 2000 by 1876 pixel big. Because my character has many muscles, I look at a few photos of bodybuilders. Those photos will help me easier to draw more realistic.
My workspace.
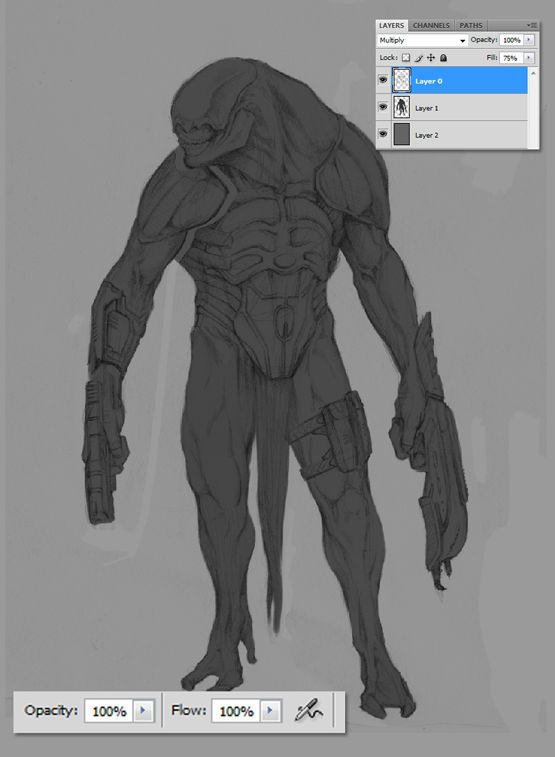
Let's get started to paint! Create a new Layer for the background, use a bright grey color. Change the Layer of the sketch to the Multiply mode. Create an other Layer and place it under the multiply- (sketch) Layer. Now apply a dark grey ground under your sketch.
Create another Layer and place it over the top. Now you mustn't pay any attention to the other Layers. With the new Layer, paint with a brighter color the light, also shadows and more details. For this job I use this brush settings... (look below)
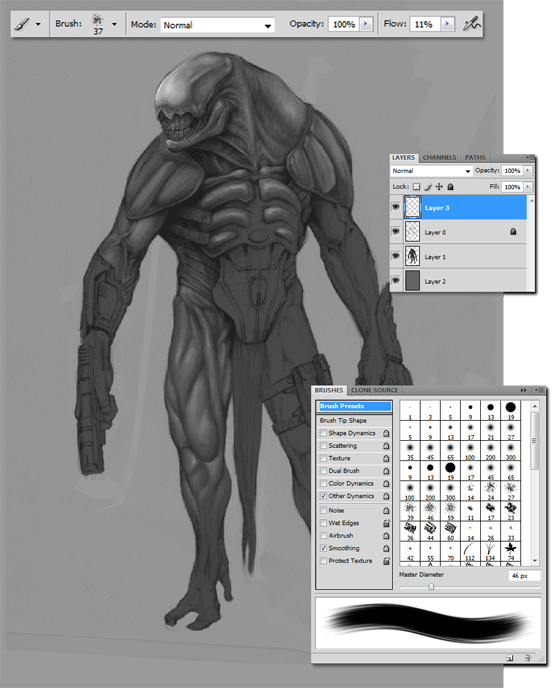
Now the character becomes more alive. Use diffent Layers such as for the Highlights, then you can easy erase mistakes.
For the background I use a tight soft airbrush. Respect the sense of the light and shadows. In my picture the light coms from the left site.
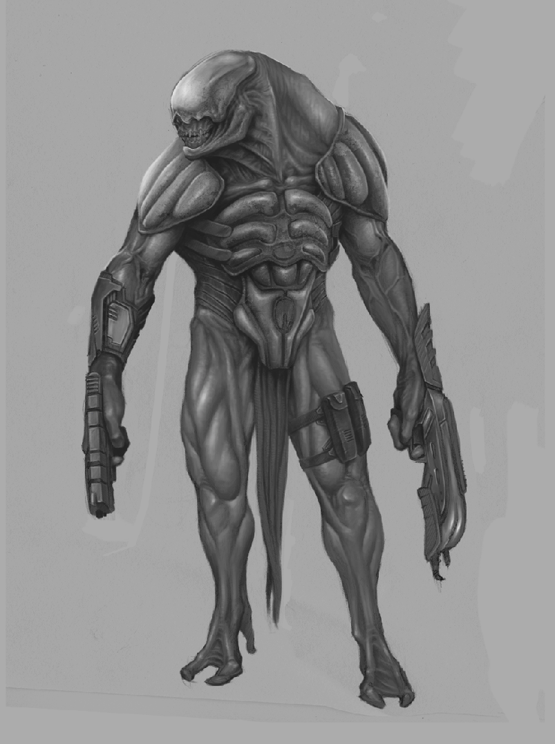
Step 3 : Coloring
Creat a new Layer and change it to the Color mode. Now you can paint your black/ white picture to a color picture. Use colors that apply to your character.
Little advice; you can change the colors of some parts in your picture. Create a new Color Balance Layer and play with the settings, than click on the white box on the Layer. Take the Bucket and fill the whole picture with the black color, the color corection is now lost. Than take the Brush and fill all these parts that you want to change with the color correction with the white color.

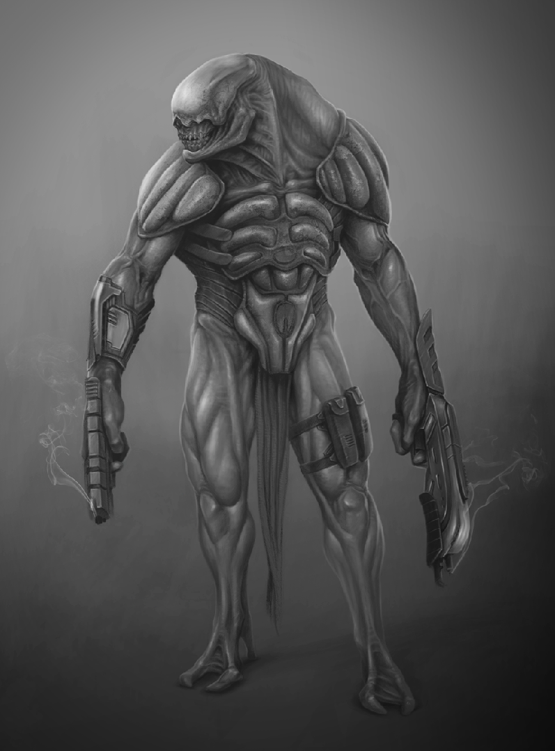
Step 4 : Texturing
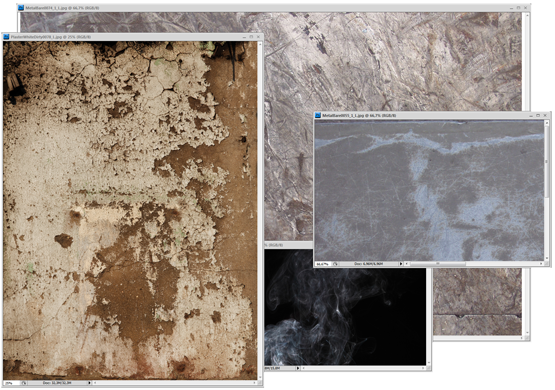
To create a more realistic look, I use textures.
Here are some textures, that I use for this picture. You can download hundrets of free textures on http://www.cgtextures.com/
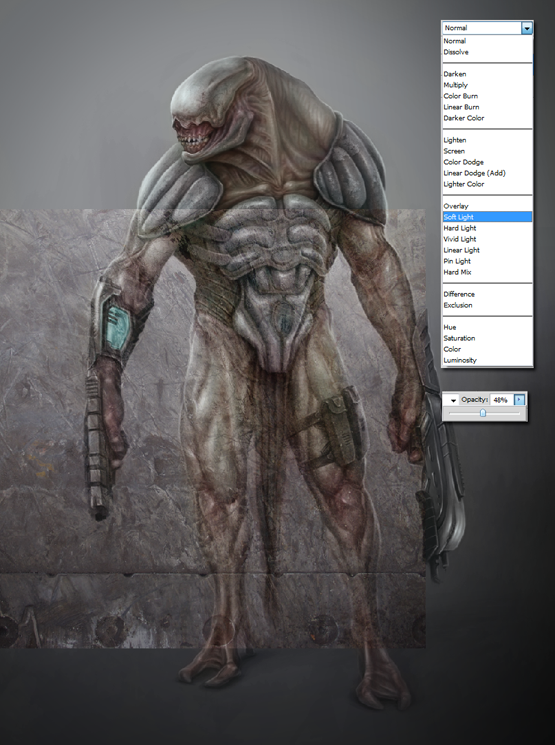
Paste the texture into your document...
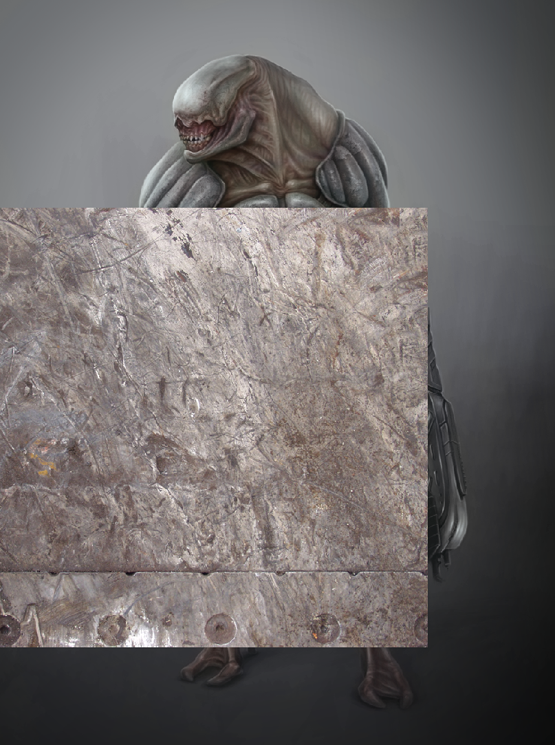
...change this Layer to Soft Light and change if desired Opacity. Later erase all the parts, which you didn't want to texture.
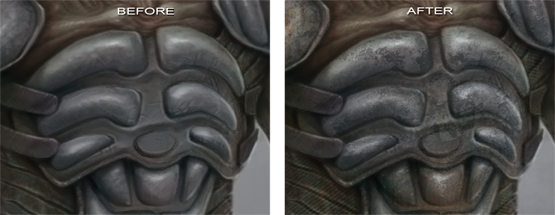
Finished textured image.

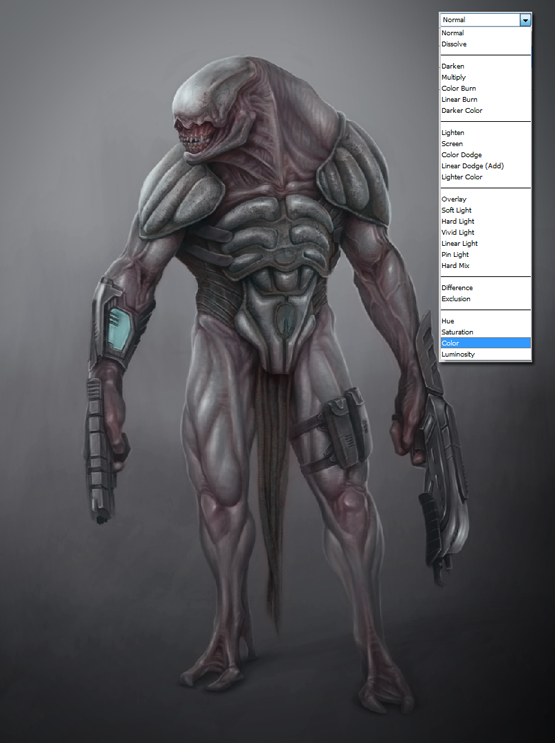
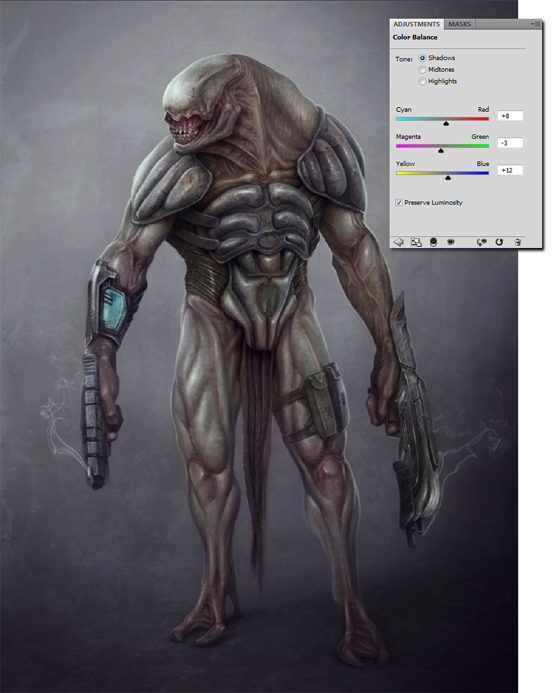
Step 5 : Color Correction
Create a new Color Balance Layer and change the setting of the Shadows, to create a better contrast. Also you can change the Brightness/Contrast.
Final Image.
Closing Words
Well mates, I hope it was useful and fun to read, I did my best.